Save with DIY plastering
Plastering your own walls can feel like a big task, but it is one of the most effective ways to reduce renovation costs. With the right preparation and a steady approach, many homeowners can achieve a clean, professional finish. In New Zealand, where labour costs continue to rise, doing it yourself can lead to meaningful savings.
What you can save
Plastering costs vary depending on the area and the level of finish. Professional plastering in New Zealand can range from around $25 to $50 per square metre for standard interior work. A typical bedroom of 12 square metres of floor space can have around 35 to 40 square metres of wall area. That can place the cost between $900 and $2,000 for one room.
If you plaster it yourself, material costs may sit between $150 and $400 for the same space. Across an entire home, the savings can reach several thousand dollars. For a three-bedroom house, it is not unusual for homeowners to save $5,000 to $10,000 by doing the work themselves.

Tools and materials you will need
Having the right tools makes the process easier and improves the final result. You will need:
Plaster or joint compound
A hawk or mud pan
Taping knives in different sizes
A plastering trowel
Sanding block or pole sander
Sandpaper in fine and medium grades
Joint tape
A bucket for mixing
A drill with a mixing attachment
Drop sheets and painter’s tape
Step one: prepare the room
Start by clearing the space as much as possible. Cover floors and any remaining furniture with drop sheets. Remove switch plates and cover power points.
Check the walls carefully. Fill any large holes or gaps before you begin. Make sure all plasterboard joints are secure and free from dust. Clean surfaces help the plaster adhere properly.
Step two: apply joint tape
If you are working on new plasterboard or repairing joins, apply joint tape over all seams. Press the tape into a thin layer of compound using a taping knife. Smooth it out so there are no bubbles or creases. This step helps prevent cracking later.
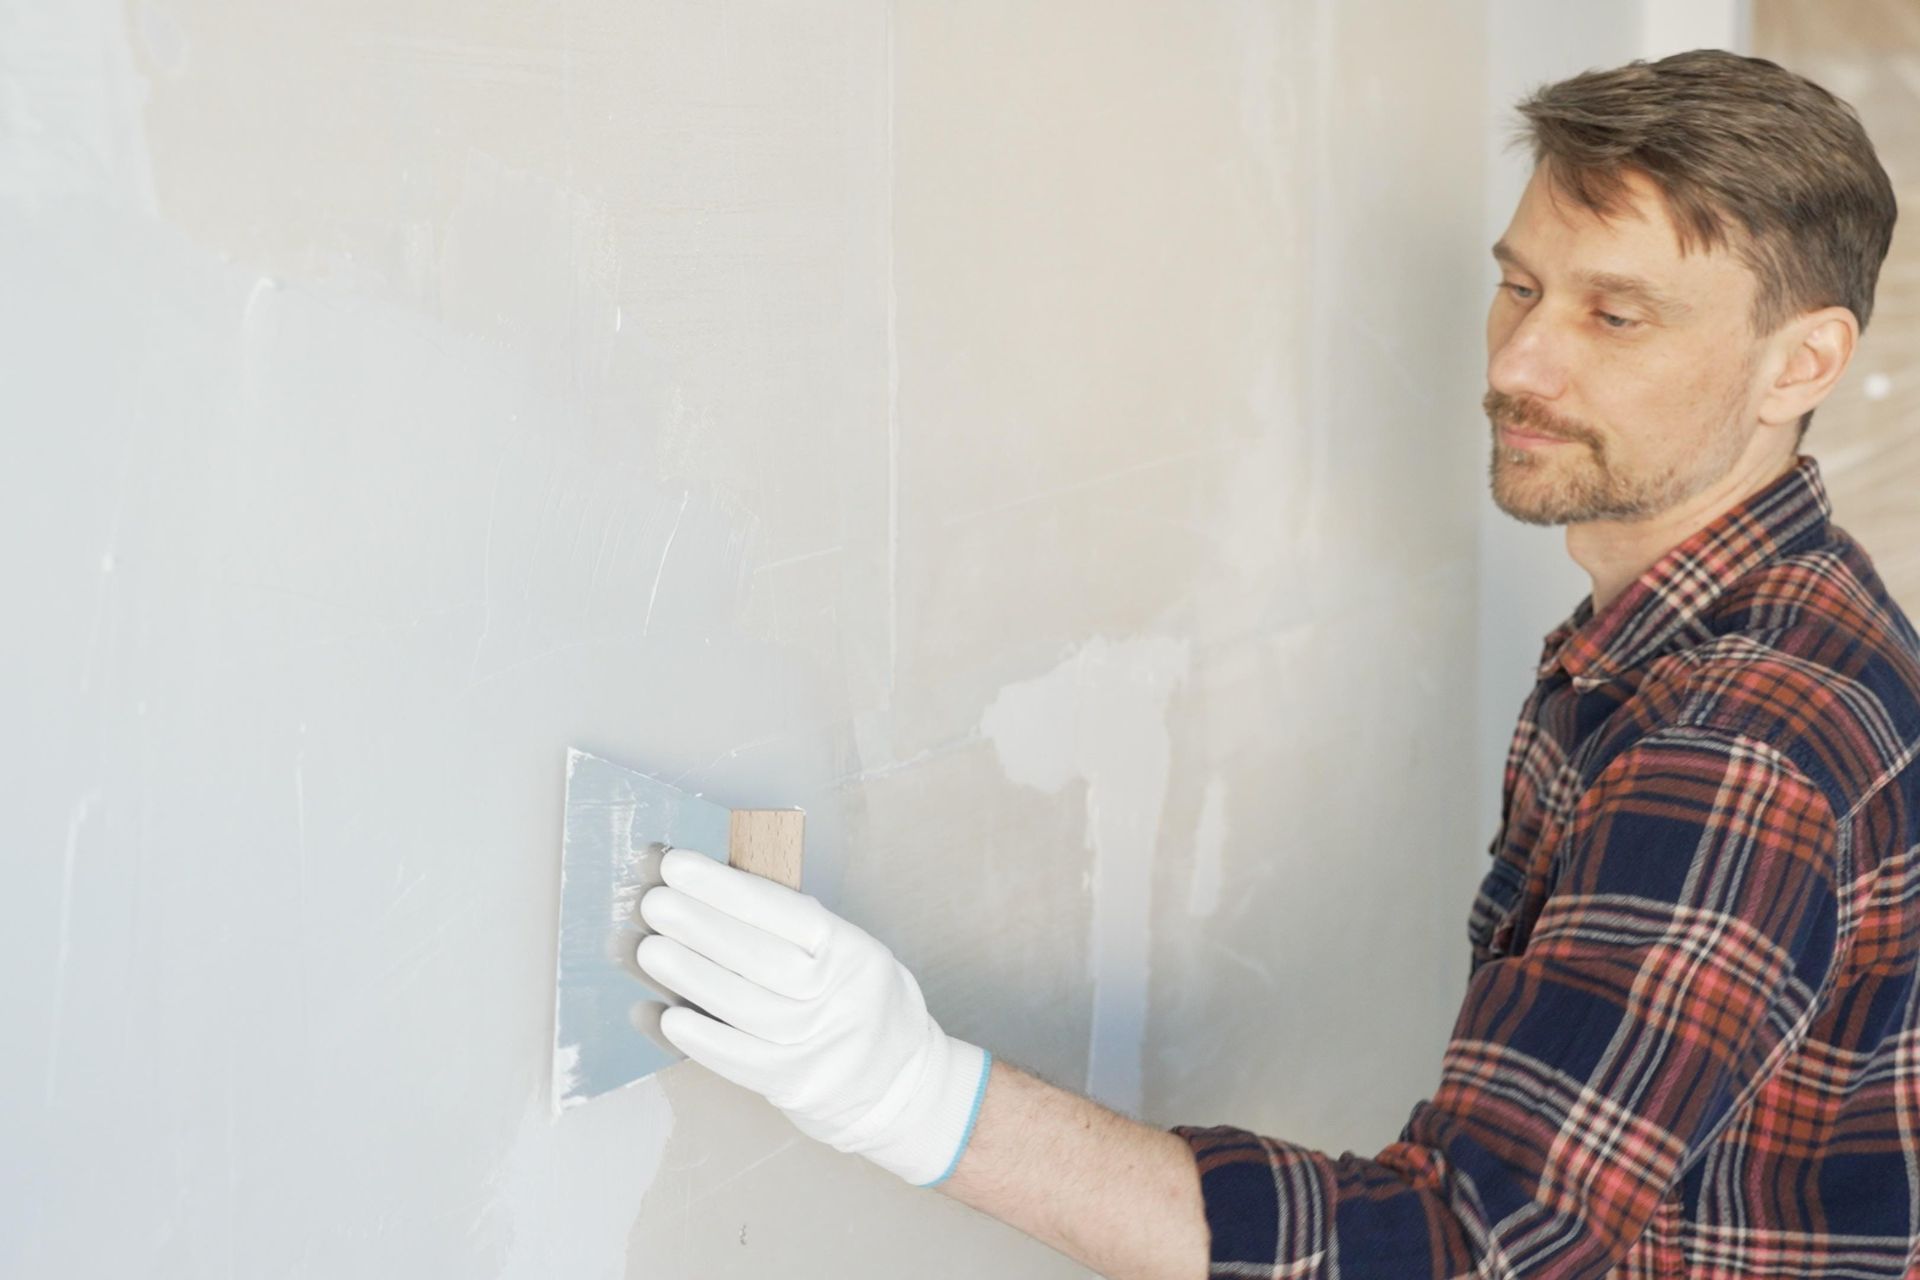
Step three: apply the first coat
Mix your plaster to a smooth, workable consistency. Use your hawk and trowel to apply a thin coat over joints, screws, and any uneven areas. Keep the layer even and do not worry about achieving a perfect finish at this stage.
Allow the first coat to dry fully. Drying time will depend on temperature and ventilation, but it usually takes around 24 hours.
Step four: build up layers
Apply a second coat, slightly wider than the first. This helps blend the edges into the wall. Use a wider knife or trowel for this step. Aim for a smooth, even surface.
Once dry, apply a third coat if needed. Each layer should be thinner and more refined. Good plastering is built up gradually rather than in one thick application.
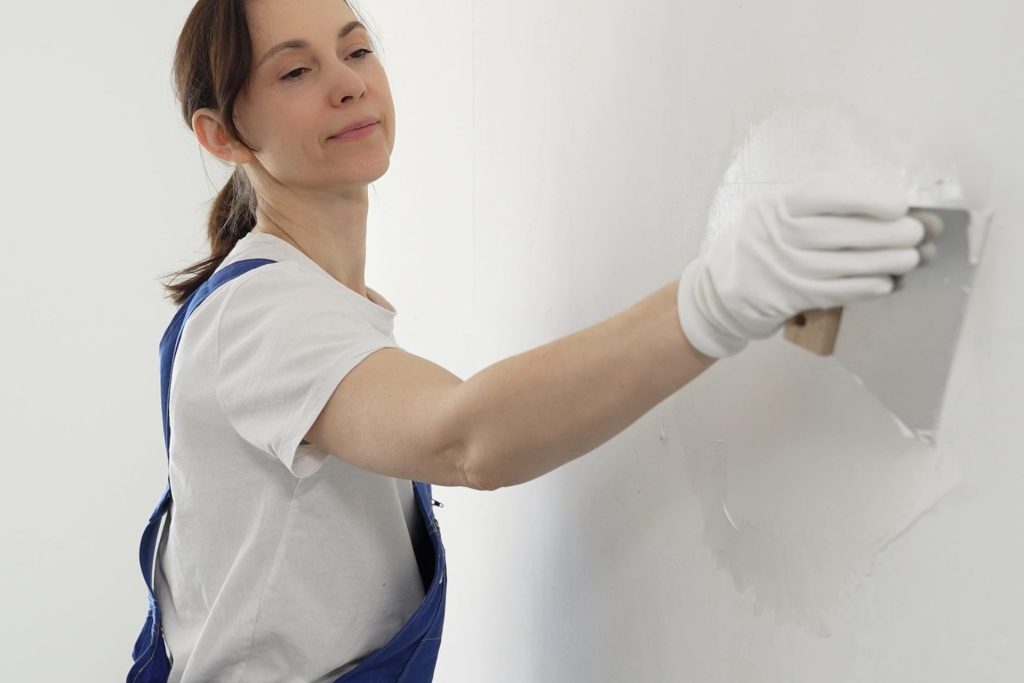
Step five: sand for a smooth finish
After the final coat has dried, sand the surface lightly. Use fine sandpaper and work gently to avoid damaging the plaster. The goal is a smooth, even finish that blends into the wall.
Wipe down the walls to remove dust before painting.
Tips for a better result
Work in good natural light so you can see imperfections. Keep your tools clean, as dried plaster can create drag marks. Take your time with each coat. Rushing often leads to more sanding later.
Ventilation is important. Open windows where possible to help the plaster dry and reduce dust.
Is it worth it?
Plastering takes patience, but it is a skill many homeowners can learn. For those willing to invest the time, the cost savings are significant. It also allows greater control over the finish of your home.
With careful preparation and a steady hand, it’s possible to achieve a professional result without the professional price tag.


