DIY floor sanding guide
DIY floor sanding and finishing can be one of the most satisfying home improvement projects. Done well, it can completely transform a space and add real value to your home. But it’s also a job that demands preparation, patience and a clear understanding of what is involved before you begin.
Why consider DIY?
Professional floor sanding can be expensive, taking the DIY route can save a significant amount, often reducing costs by 40 to 60 per cent. For an average room, you might spend a few hundred dollars on equipment hire and materials, compared to well over a thousand for a professional service. The trade-off is your time and effort.
Preparing the room properly
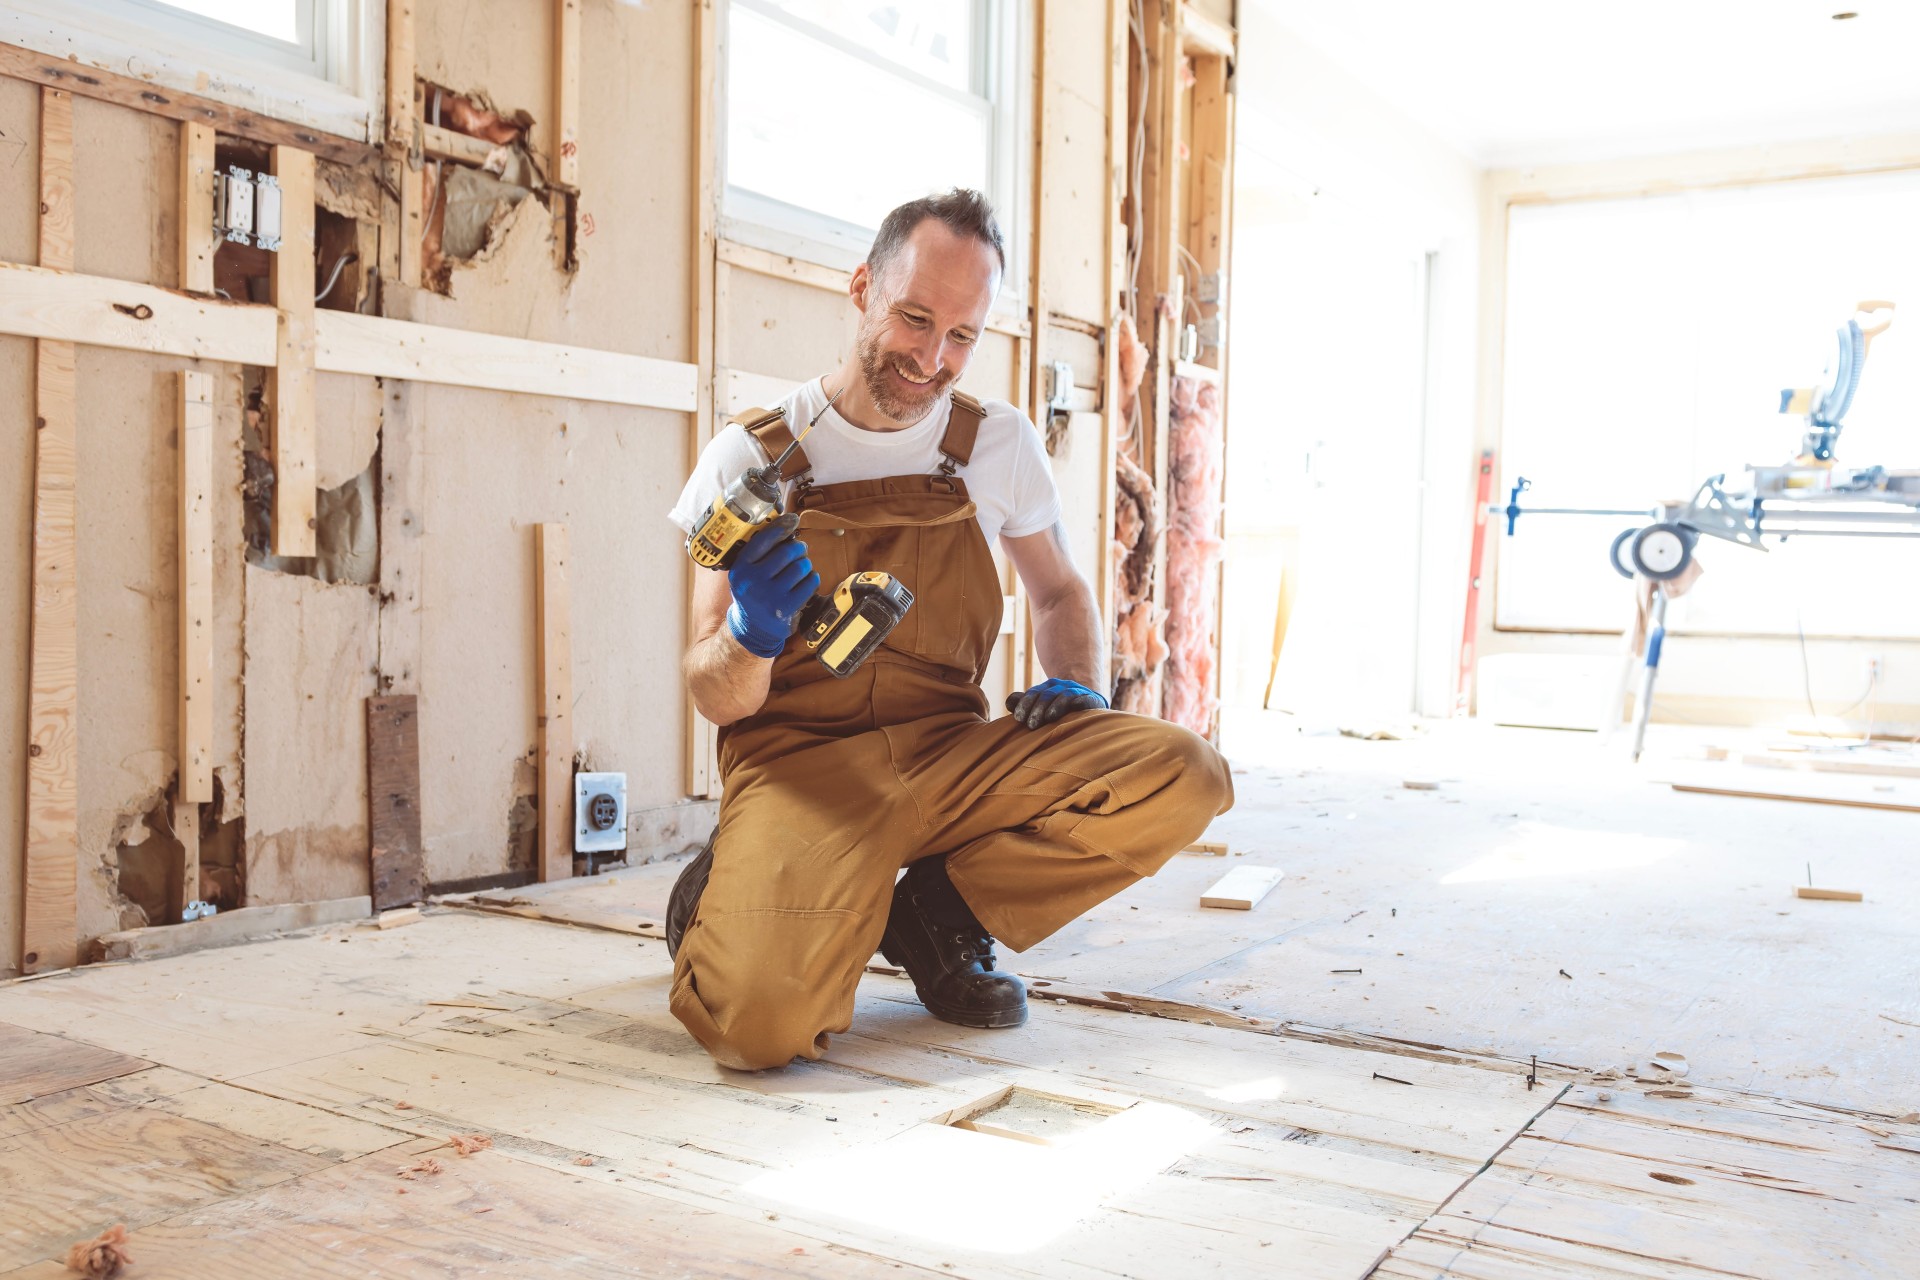
Preparation is where most of the success lies. Every item of furniture needs to be removed, along with rugs, curtains and anything that could trap dust. Floor sanding creates a surprising amount of fine particles that travel further than expected.
Check the floor carefully before sanding. Punch down any protruding nails, secure loose boards and fill large gaps if needed. It is also worth sealing off adjoining rooms with plastic sheeting and painter’s tape to contain dust. Removing or covering light fittings and vents will also help reduce cleanup later.
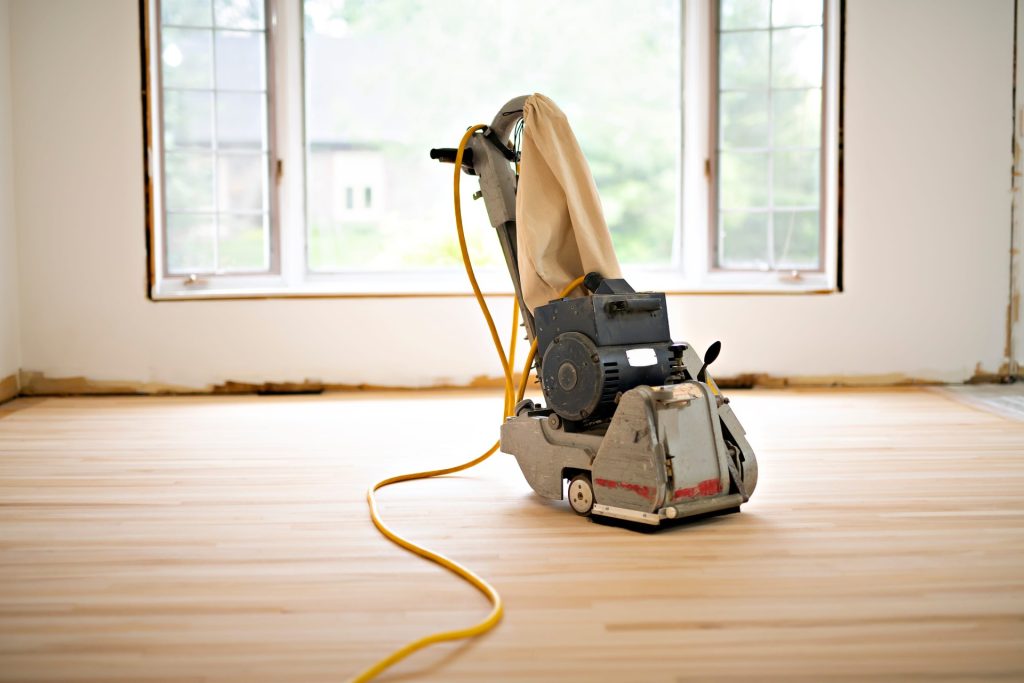
Hiring the right equipment
For most projects, you will need three key tools: a drum sander for the main floor area, an edging sander for corners and walls, and a detail sander for tight spots. These can usually be hired from local equipment centres.
It is important to get a quick demonstration when hiring. These machines are powerful and can easily damage your floor if used incorrectly. Ask about sandpaper grits as well. You will typically start with a coarse grit to remove old finishes, then move through medium to fine grits for a smooth result.
Health and safety considerations
Floor sanding is noisy and dusty work. A proper dust mask or respirator is essential, along with hearing protection and safety glasses. Ventilation matters, but be careful not to create strong drafts that move dust into other areas of the house.
When it comes to varnishes or oils, pay attention to fumes. Many products release strong odours and chemicals while curing. Choose low-VOC options where possible and ensure good airflow. Always follow drying times closely to avoid damaging the finish or exposing yourself to unnecessary fumes.
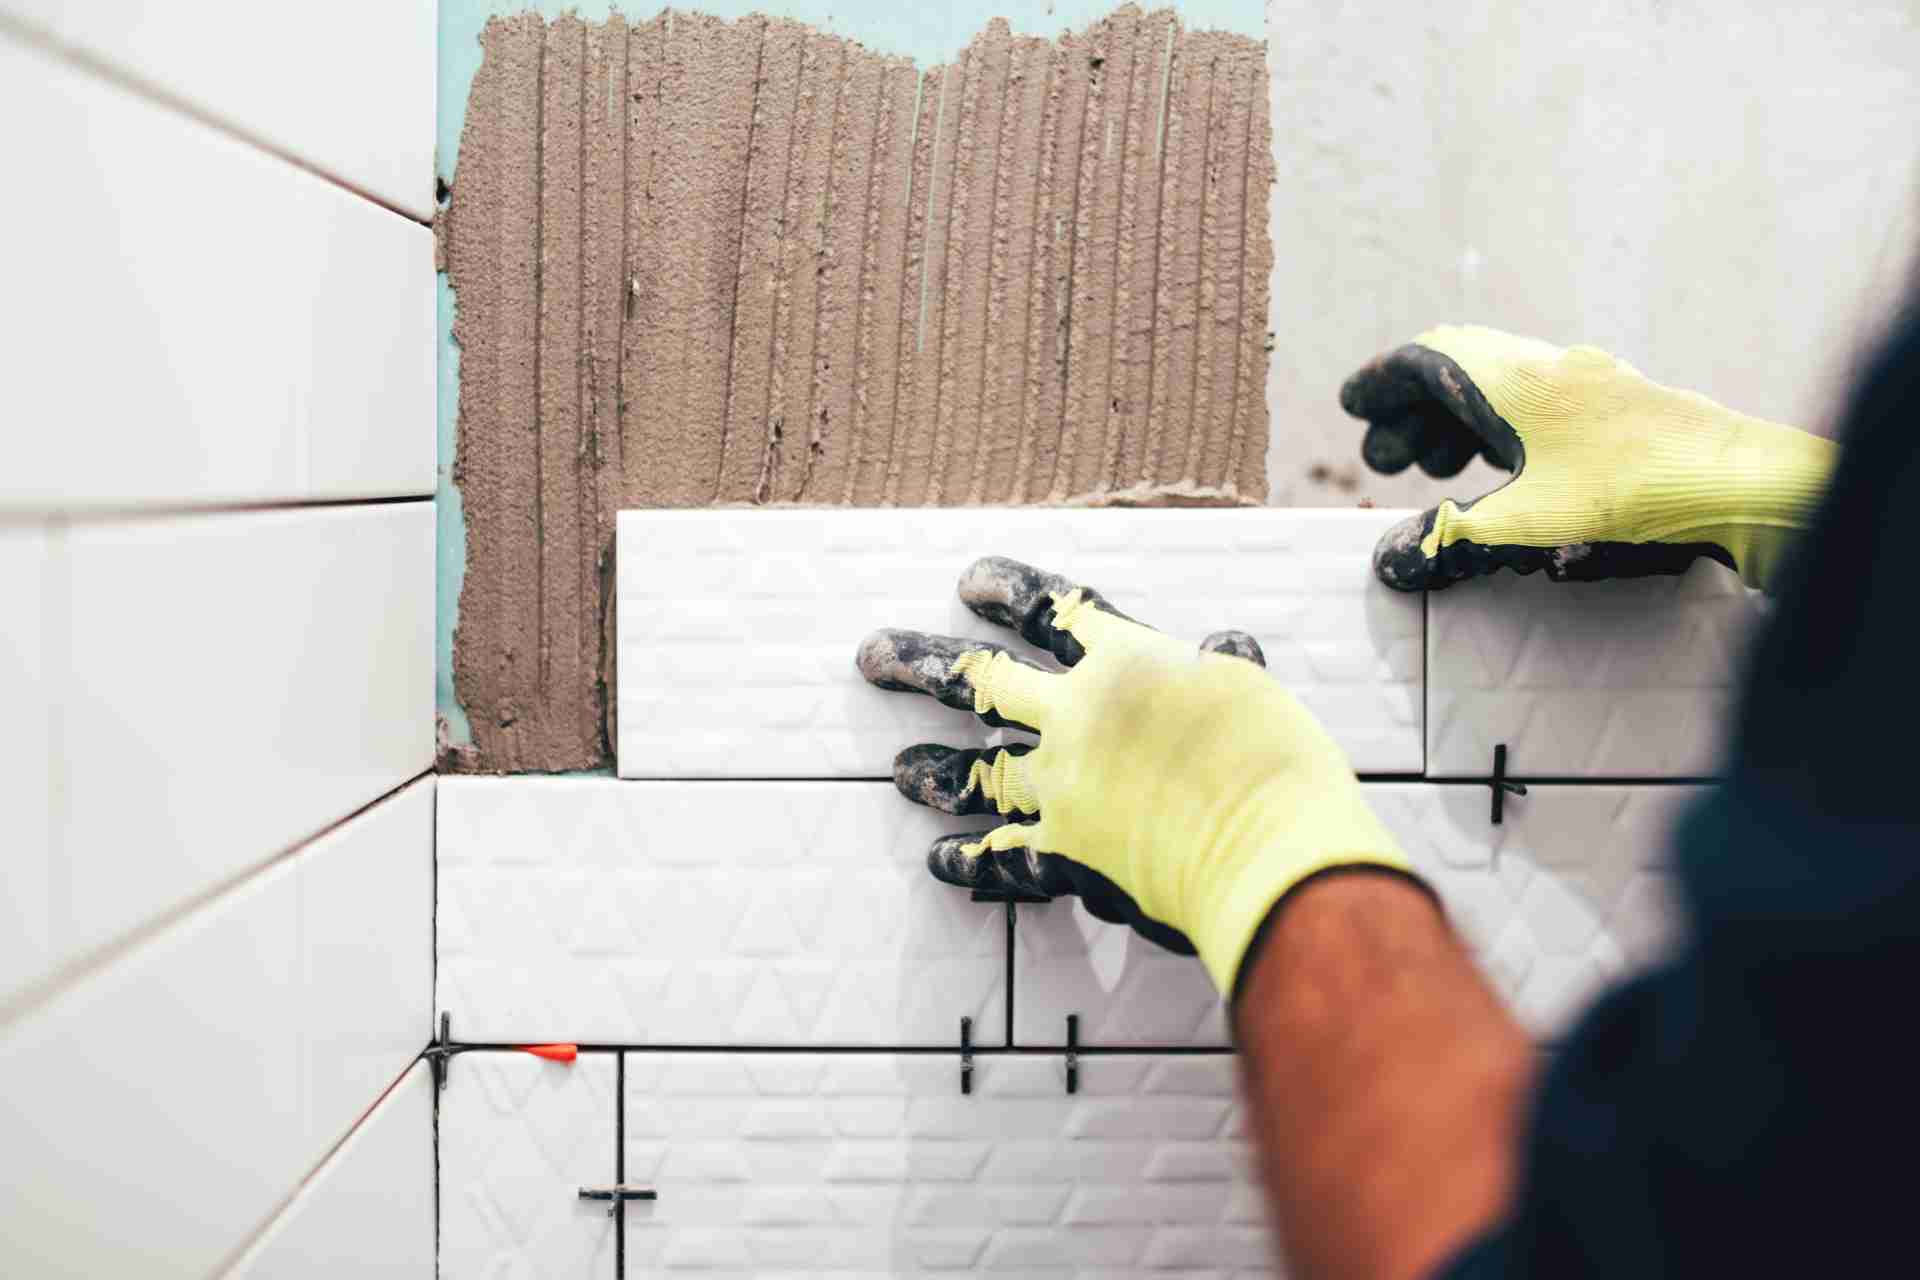
Sanding and finishing the floor
Work methodically and keep the sander moving to avoid gouges. Overlapping each pass slightly will help create an even finish. Edges should be sanded carefully to blend with the main floor.
Once sanding is complete, vacuum and wipe down the surface to remove all dust. Any leftover particles will affect the final finish.
You can then choose between varnish (polyurethane) or oil. Varnish creates a durable, sealed surface that is ideal for high-traffic areas. Oils penetrate the timber for a more natural look, but may require more frequent maintenance.
Apply your chosen finish in thin, even coats, allowing proper drying time between each layer. Light sanding between coats will help achieve a professional result.
How long will it take?
For a standard room, sanding can take one full day, especially if you are learning as you go. Applying the finish may take two to three days, allowing for drying time between coats. In total, expect around three to four days per room before it is fully usable again.
Is it worth it?
If you are willing to invest the time and follow the process carefully, DIY floor sanding can deliver impressive results at a fraction of the cost. The key is not to rush. With the right preparation, equipment and attention to detail, you can achieve a finish that feels as good as it looks.