DIY painting tips
Painting your home is one of the simplest ways to refresh a space. With the right preparation and tools, most homeowners can do their own painting for a fraction of the cost of hiring a professional.
This guide walks through each stage to help you approach the job with confidence.
Step 1: Prepare the room
Start by clearing as much furniture as possible. Move remaining items to the centre of the room.
Cover floors with drop sheets. Use canvas or plastic sheets that will not shift easily. Cover furniture with lightweight plastic or old sheets.
Remove wall hangings, curtain rails, and switch plates. This gives a clean surface to work on.
Step 2: Remove wallpaper if needed
If your walls have wallpaper, it must come off before painting.
Score the wallpaper lightly with a scraper or scoring tool. Apply warm water or a wallpaper removal solution. Let it soak in for several minutes.
Use a wide scraper to peel the paper away. Work slowly to avoid damaging the wall underneath.
Wash off any remaining glue with warm water and a sponge. Let the wall dry fully before moving on.
Step 3: Repair the walls
Check for cracks, dents, or nail holes.
Use a filler compound to repair small holes and imperfections. Apply it with a filling knife. Press firmly to ensure the gap is filled.
Let the filler dry completely. Drying time will vary depending on the product.
Step 4: Sand the surface
Lightly sand the filled areas until they are smooth and level with the wall.
Use fine sandpaper for best results. Sand any rough patches across the wall surface.
Wipe down the walls with a damp cloth to remove dust. A clean surface helps paint stick properly.
Step 5: Tape edges and protect surfaces
Apply painter’s tape along skirting boards, window frames, and door trims.
Press the tape down firmly to prevent paint from bleeding underneath.
Keep lines straight and neat. This step makes a big difference to the final finish.
Ensure drop sheets fully cover the floor and any furniture.
Step 6: Choose the right tools
Use different brushes and rollers for different areas.
A small angled brush works best for cutting in around edges, corners, and trim.
A medium roller is ideal for large wall areas. It provides even coverage and speeds up the job.
Use a smaller roller for tight spaces or narrow walls.
Choose a roller nap that suits your wall surface. Smooth walls need a short nap. Textured walls need a thicker nap.
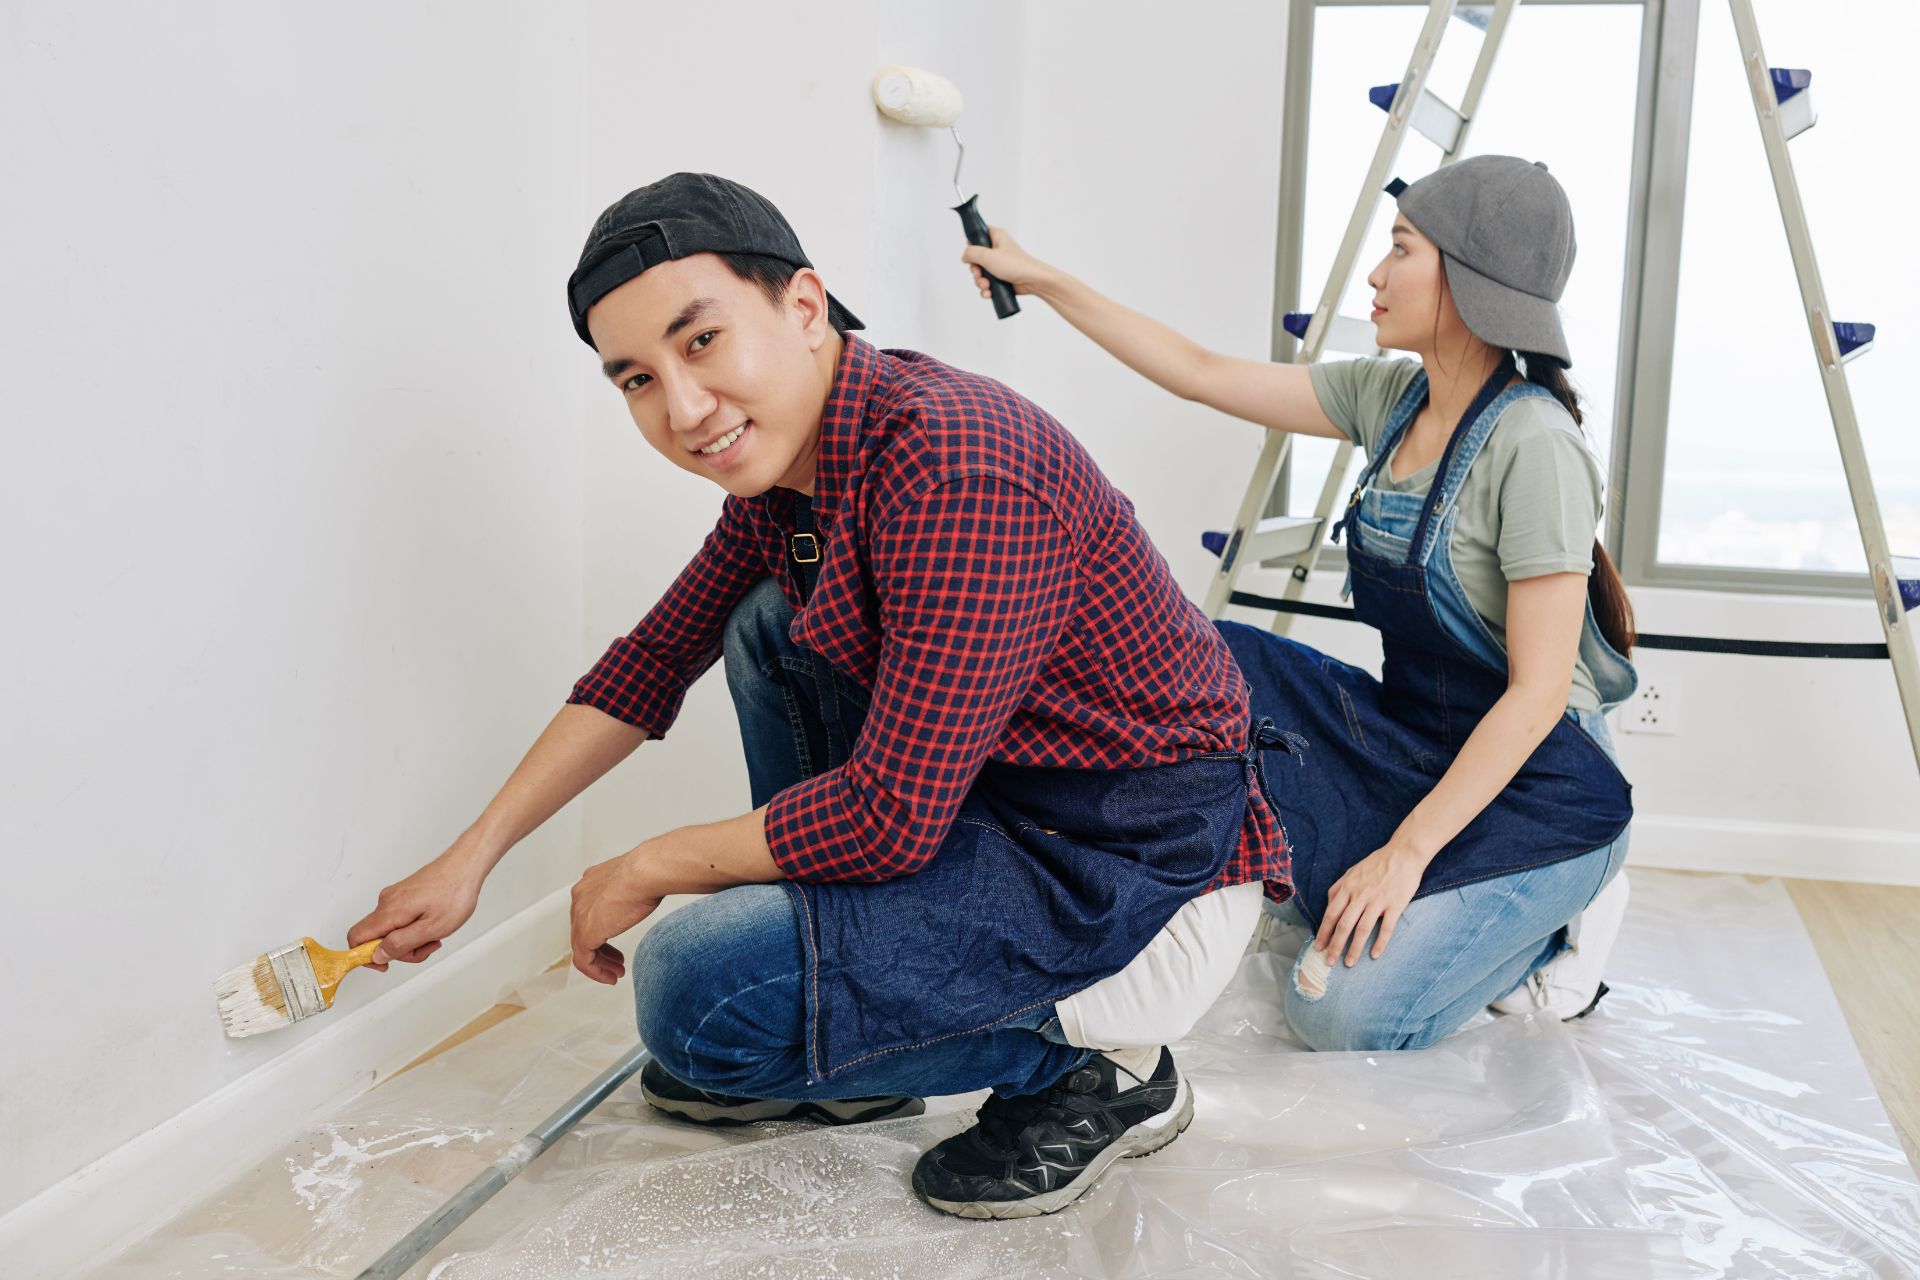
Step 7: Start by cutting in
Begin by painting edges with a brush. This is called cutting in.
Paint along corners, ceilings, and trims. Work in sections so the paint stays wet.
This creates a border that the roller can blend into.
Step 8: Roll the walls
Use a roller to fill in the larger areas.
Load the roller evenly with paint. Do not overload it.
Apply paint in a “W” or “M” pattern. Then fill in the gaps with smooth strokes.
Work from top to bottom. Keep a wet edge to avoid visible lines.
Step 9: Apply a second coat
Allow the first coat to dry fully.
Apply a second coat using the same method. This improves colour depth and coverage.
Step 10: Remove tape and clean up
Remove painter’s tape while the paint is still slightly tacky. Pull it away slowly at an angle.
Clean brushes and rollers according to the paint type.
Remove drop sheets carefully to avoid spreading spills.
Final tips
Take your time with preparation. Good prep leads to a better finish. Use quality tools. They make the job easier and improve results. Work in good light so you can see coverage clearly.
Painting your walls is a manageable DIY project. With careful preparation and the right approach, you can achieve a professional-looking result.