How to make a garden planter from an old wooden pallet

Turn an old wooden pallet into a beautiful garden planter in just a few hours!
Looking for an easy weekend DIY project? I decided to turn an old wooden pallet into a planter box, and it was surprisingly simple! With just a few tools, some recycled timber and a little creativity, I had a brand-new planter ready for the garden in a matter of hours.
The best part? You don’t need to be an expert at DIY to give this a go.
What you’ll need
· 1 × wooden pallet
· Long wood screws
· Drill
· Saw (a jigsaw is recommended if you have one!)
· Black garden mesh or planter lining
· Staple gun and staples
· Cardboard
· Compost or suitable potting mix
· Plants of your choice – I went with lavender and rosemary!
Step 1: Cut your pallet
Check the stamp on the pallet first. Use one marked HT, for heat treated, and avoid any marked MB, which means it was fumigated with methyl bromide, especially if you’re growing herbs.
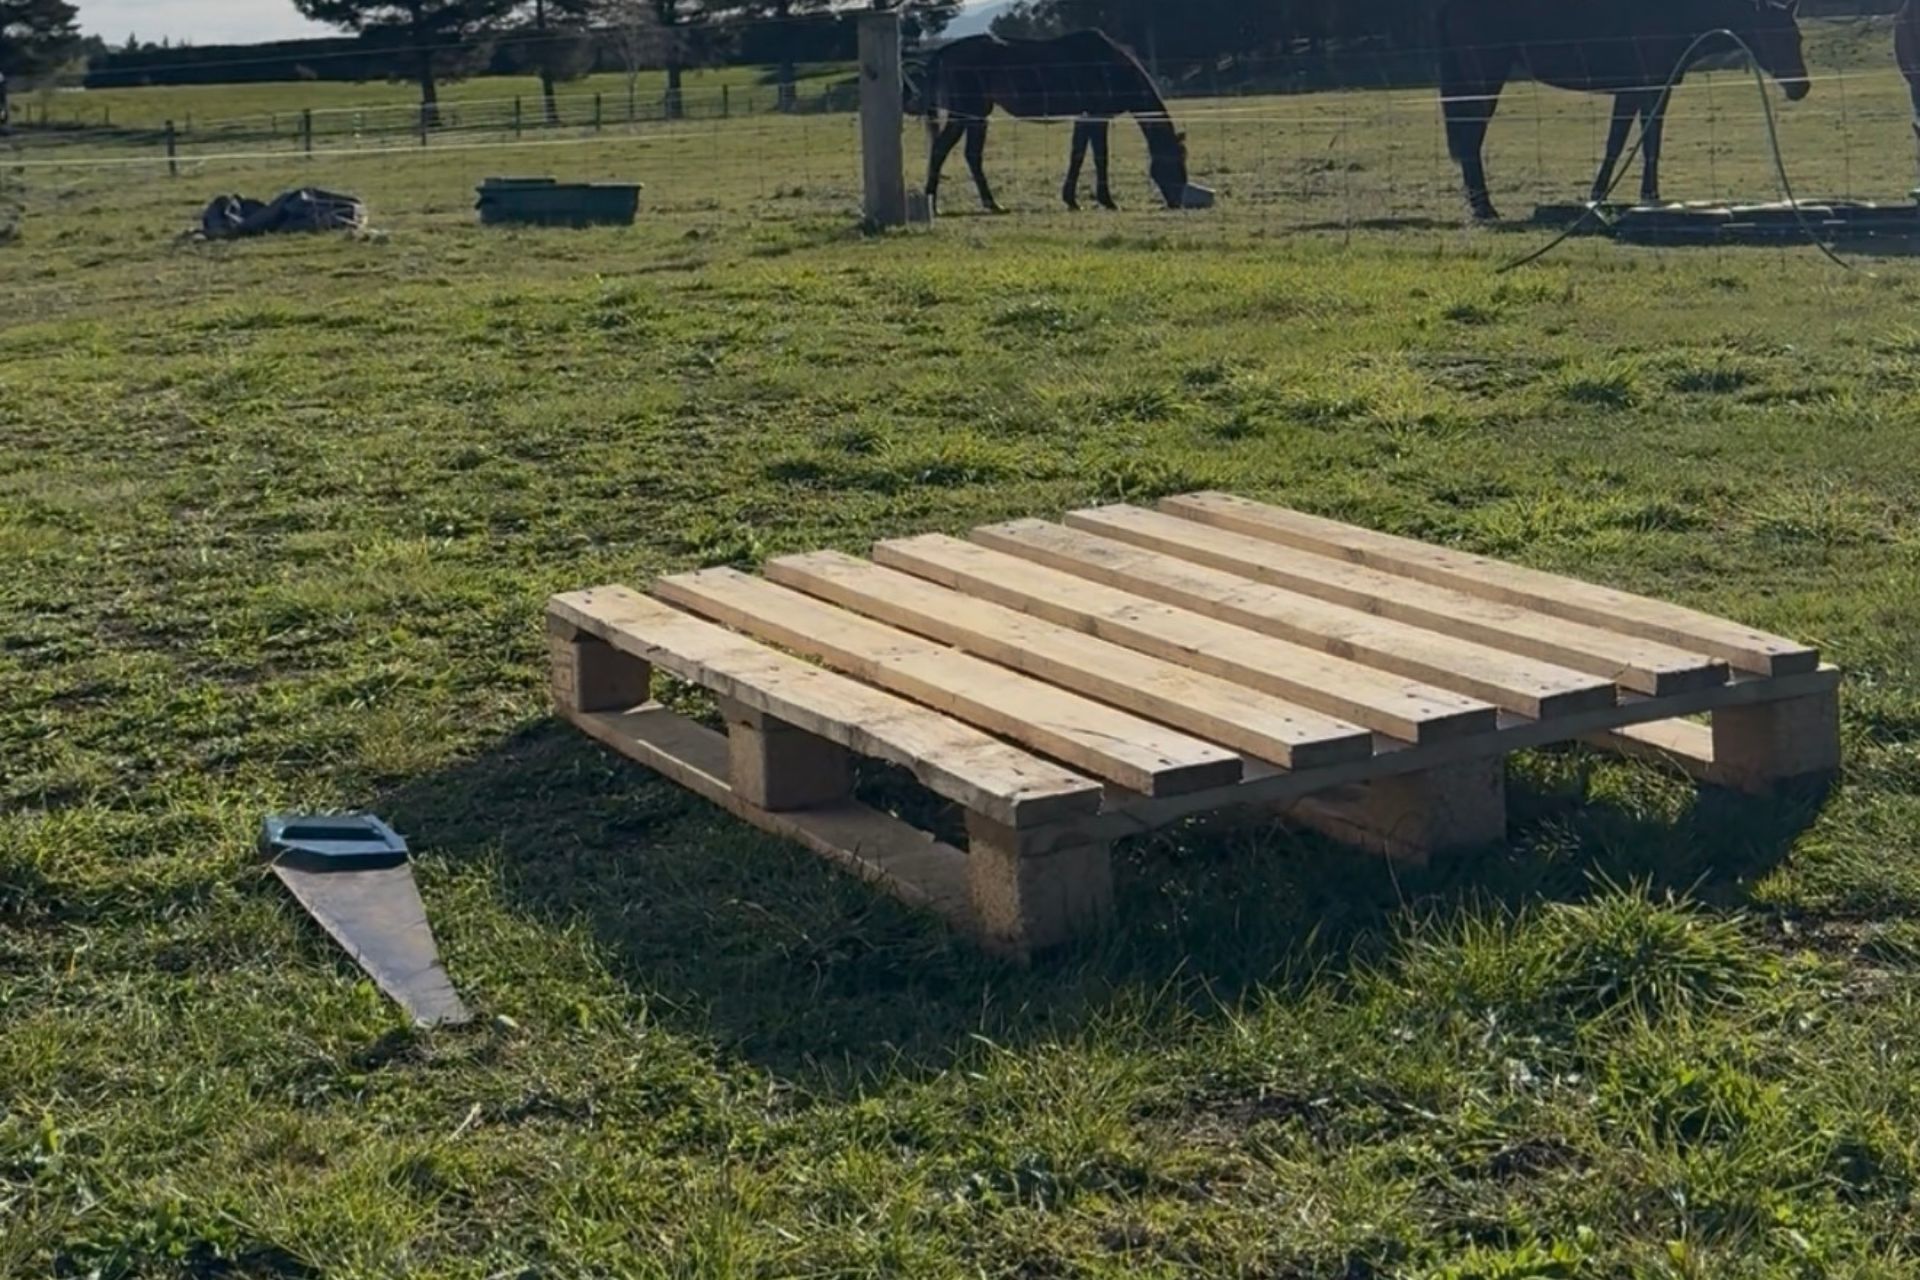
Start by laying your pallet flat and deciding where to make your cuts.
I cut the pallet so I had two sections with three wooden panels each, leaving the middle section to use for additional materials.
I used a regular saw, but if you’ve got a jigsaw, I’d definitely recommend using that to make the job a little easier!
Step 2: Build the planter box
Using the leftover timber from the middle section, I cut pieces to create the side panels of the planter.
I then used the small wooden blocks from the original pallet and screwed them into the bottom to add extra support and widen the base.
Secure everything together using your drill and long wood screws, making sure the planter feels sturdy.
Step 3: Add your planter lining
Once the box is assembled, it’s time to line the inside.
I used black garden mesh, cutting it to fit the inside of the planter and securing it with a staple gun.
This helps keep the soil contained while allowing excess water to drain away.
Step 4: Add cardboard and compost
Next, I placed a layer of cardboard along the bottom of the planter to help create a base.
Then I filled the box with compost, leaving enough room at the top for planting.
Tip: Make sure your planter has adequate drainage so your plants don’t end up sitting in water.
Step 5: Get planting!
Now for the fun part!
I chose lavender and rosemary for my planter, but you can use whatever plants suit your space.
Once everything was planted, I gave them a good watering, and that was it!
The finished result
One old pallet, a few hours of work and a brand-new planter box!
It’s a simple, affordable way to give recycled timber a new purpose while adding a little greenery to your outdoor space.
A perfect weekend DIY project that doesn’t need to cost a fortune!